CSV Export#
Business Objects can be exported to a CSV file directly from the object list. The export runs in the background and the result is sent to you by email when it is ready.
How to Start a CSV Export#
- Open the relevant Business Object list or View.
- Optionally select specific records. If no records are selected, all records matching the current filter are exported.
- Click Export in the footer toolbar and choose Export as CSV file.
- The system confirms the export has started and shows the export progress page.
The export confirmation message shows the email address the file will be sent to.
Export Progress Page#
After starting a CSV export, the application opens the export progress page automatically.
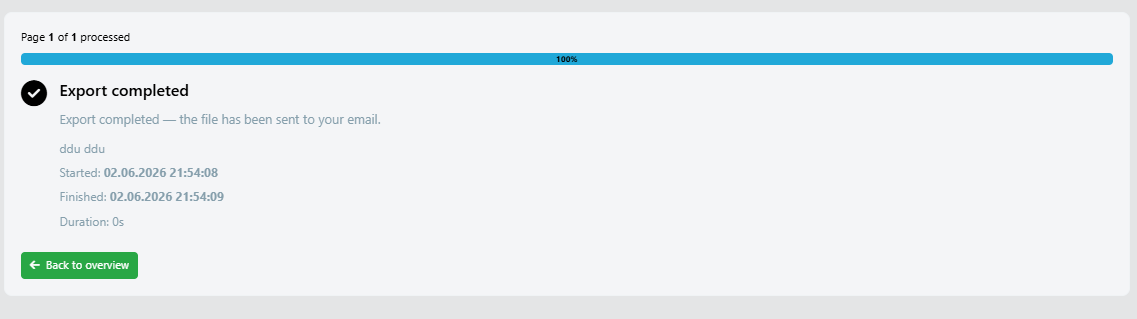
The page shows:
- A progress bar indicating how many pages have been processed out of the total.
- The current percentage.
- Who triggered the export and their email address.
- The time the export started.
When the export finishes:
- The progress bar turns green and shows 100%.
- A confirmation message appears with the number of records exported.
- The start time, finish time, and duration are displayed.
- A Back to overview button returns you to the Business Object list.
You can close the progress page at any time. The export continues in the background and you will receive the file by email once it is done.
Export Scope#
The export includes:
| Scenario | What is exported |
|---|---|
| No selection active | All records matching the current filter |
| Records selected | Only the selected records |
Permissions#
The Export as CSV file option is only visible when:
- The current View shows import and export controls.
- The user has both read and export permissions for the selected Business Model.
Email Delivery#
The exported file is attached to an email and sent to the email address of the user who triggered the export. Make sure your account has a valid email address configured in your profile.
If no email address is found for your account, the export cannot be started and an error is shown.